
There is something about spring baking that brings out a desire for whimsy, but not everyone has the patience for meticulous royal icing or fondant sculptures. If you have ever felt defeated by a Pinterest-fail decorating project, this viral Easter hack is the breath of fresh air your kitchen needs.
This clever trick uses pastel candy shells to create tiny “ears” and faces with zero decorating stress. It is a low-effort, high-impact move that instantly gives your standard chocolate chip cookies a festive personality. Whether you are baking for a school party or just want to surprise the kids on Easter morning, these bunnies are guaranteed to be a hit.
Why This Trick Works
The beauty of this method lies in its simplicity. By using different orientations of the same candy, you create a recognizable silhouette that looks professional yet feels wonderfully homemade. The flavor profile remains your classic, buttery chocolate chip cookie, but with an added crunch from the candy coating.
It is a flexible technique, too. While it looks stunning on a golden-brown cookie, you could easily apply the same logic to brownies, blondies, or even the top of a frosted cupcake.
Ingredients
One batch of your favorite chocolate chip cookie dough
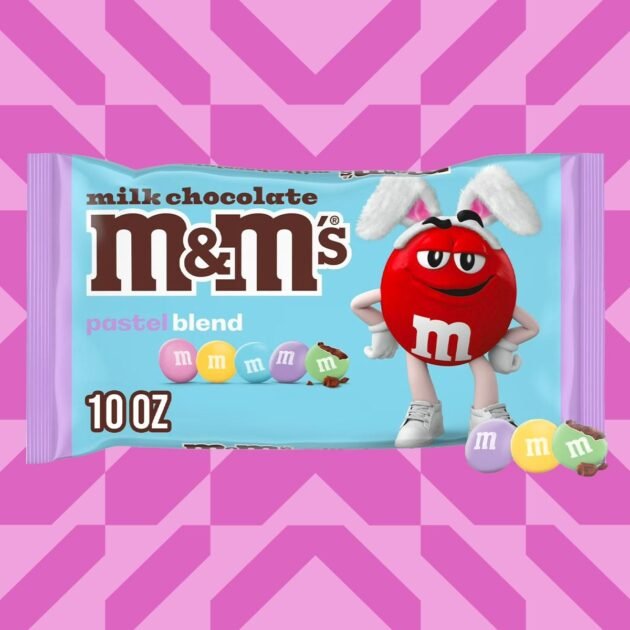
One bag of pastel or spring-themed M-and-Ms
A cookie scoop (optional, but recommended for a smooth “face” surface)
Instructions
Success with these cookies is all about the timing. You want the cookies to be soft enough to accept the candy, but not so hot that the shells crack or melt.
Bake and Scoop: Prepare your dough and use a cookie scoop to place even mounds on your baking sheet. A scoop ensures a smooth, domed surface that acts as the perfect canvas for your bunny faces. Bake according to your recipe instructions.
The Cooling Window: Once the cookies come out of the oven, let them sit on the tray for about two to three minutes. If you press the candies in immediately, the intense heat will cause the shells to split. You want them warm, but not “oven-hot.”
Assemble the Face: Press one candy flat-side down into the center of the cookie. This serves as the bunny’s face.
Add the Ears: Take two more candies of the same color and press them into the cookie just above the face. Instead of laying them flat, press them in on their sides (edge-wise) at a slight outward angle to mimic floppy rabbit ears.
Set and Cool: Allow the cookies to cool completely on a wire rack so the chocolate inside the candies can firm back up, locking the ears in place.
Helpful Tips and Variations
If you find that a standard cookie feels too crowded with three candies, stick to one bunny face per cookie for a cleaner look. However, if you are making jumbo-sized bakery cookies, you can fit a little “family” of bunnies on a single treat.
Interestingly, if you rotate the “ear” candies so they are parallel to the face rather than angled, the silhouette transforms into a convincing little mouse. Save that variation for a Disney-themed party later in the year using red and yellow candies!
Serving Suggestions
These cookies look beautiful piled on a platter lined with green shredded paper to mimic spring grass. They also make a charming addition to an Easter basket when individually wrapped in clear cellophane bags with a pastel ribbon.
This is the perfect project to get kids involved in the kitchen. Their small hands are great for choosing color combinations and pressing the “ears” into place. It is a simple, sweet way to make holiday memories without the mess of food coloring and icing. Give it a try this weekend and watch your batch disappear in a heartbeat!