


Making homemade wine isn’t just a craft; it’s an adventure that lets you turn your own backyard harvest into something unforgettable. When you grow currants, you unlock a world of flavor that rivals any vineyard bottle. Unlike grapes, which dominate the market, currants carry a bold, tart taste that transforms into smooth richness once fermented. By planting, tending, and harvesting these incredible berries, you set yourself up for one of the best fruit recipes you’ll ever make.
If you’ve ever dreamed of growing fruits that not only taste good fresh but also create award-winning fruit wine, currants are the crop you should start with.
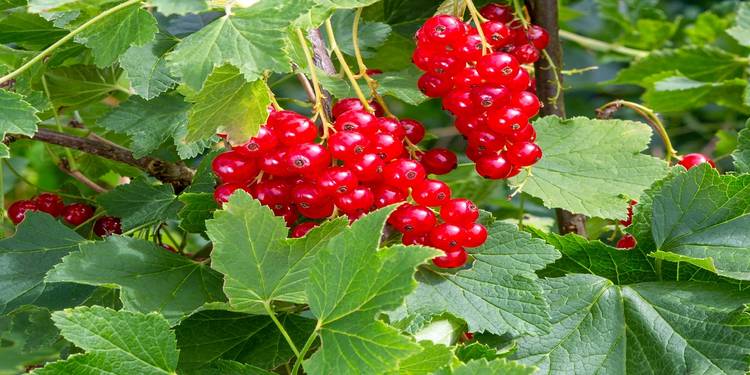
Why Currants are Perfect for Homemade Wine
Currants have the right balance of flavor and richness that makes them ideal for winemaking

On the branch bush berries are ripe red currant (Ribes rubrum).
When you think of rich flavors and natural depth, currants stand out as one of the best options for crafting homemade wine. Their bold, tart taste and vibrant aroma carry more complexity than most berries, often rivaling the character you’d expect from high-quality grapes. Red and black currants in particular deliver a deep color that adds elegance to your glass, while also bringing a unique tang that makes every sip memorable.
Another reason currants excel in winemaking is their versatility.
- They adapt well to blends, pairing beautifully with grapes or other berries in fruit recipes.
- Whether you prefer a smooth dessert fruit wine or a bold, full-bodied bottle, currants give you the foundation to experiment with flavor layers.
- They store well, too, allowing you to ferment them at your own pace without losing their intensity.
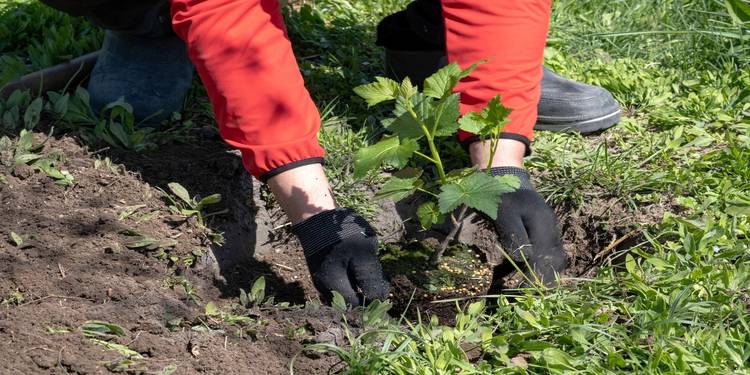
How to Plant Currants for the Best Results
Planting currants correctly gives you strong bushes and abundant harvests

A man plants a young currant bush in the garden. Planting currants in the ground.
When you start planting currants, success begins with choosing the right spot and soil preparation. They thrive in well-drained soil enriched with organic matter, and a slightly acidic to neutral pH creates the best environment for strong root systems.
Paying attention to each step ensures your currant bushes remain healthy and productive for many seasons.
|
Steps |
Details |
|---|---|
|
Place |
Select a site with full sun or partial shade and good air circulation. |
|
Enrich |
According to the University of Minnesota, you should prepare soil by adding compost or well-rotted manure for long-lasting fertility. |
|
Test |
Test soil pH and adjust to between 6.0 and 6.5 for best root performance. |
|
Dig |
Dig holes wide enough to spread roots comfortably without bending. |
|
Plant |
Plant bushes slightly deeper than their nursery level to encourage new shoots. |
|
Space |
Space plants 4 to 5 feet apart to reduce overcrowding and disease spread. |
|
Water |
Water deeply after planting to settle the soil and establish roots. |
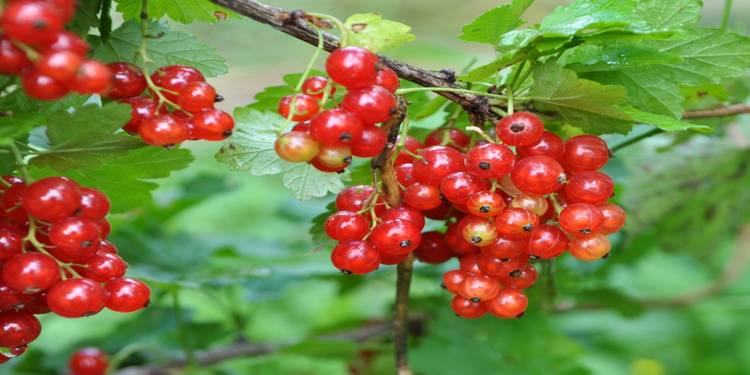
Caring for Currants Throughout the Season
Caring for currants is about timing watering pruning and harvesting

Currant. Red currant bush with ripe berries close-up.
Caring for currants is a rewarding process when you give them the right attention at each stage of growth. These shrubs thrive with steady watering, well-drained soil, and regular pruning. If you’re aiming to use the fruit for homemade wine, it’s important to encourage strong clusters and juicy yields by keeping the plant healthy all year long.
The way you tend to your plants during the season shapes the quality of your harvest.
- Water deeply once a week, increasing to twice in hot spells, to keep roots strong.
- Apply compost or organic fertilizer in early spring for better growth and larger berries.
- Mulch around the base to keep moisture steady and block weeds.
- Prune old or tangled branches in late winter to allow sunlight into the canopy.
- Watch for common pests like aphids and sawfly larvae, and act quickly with organic sprays.
- Net your shrubs before ripening begins to keep birds from stripping your crop.
- Harvest when the clusters are firm, glossy, and full of juice for homemade wine or fresh eating.
Healthy seasonal care makes your plants productive and ensures your efforts in the vineyard corner of your garden pay off in taste and abundance.
Harvesting Currants at the Right Time
The moment you pick your currants determines how sweet and flavorful your homemade wine will be
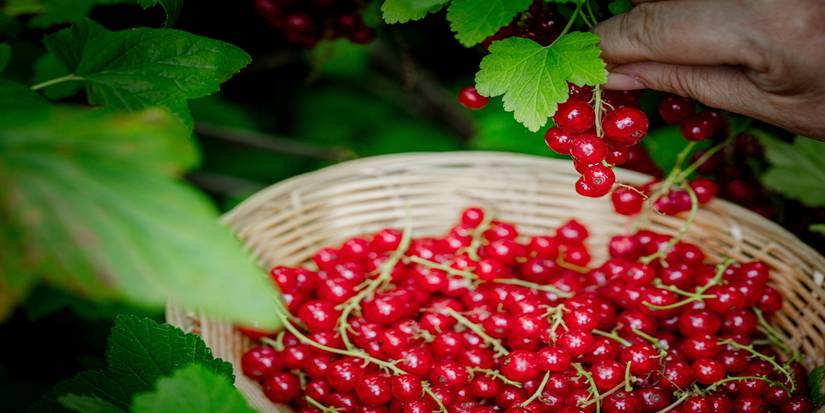
Women's hands picking ripe red currants. Holding a wicker bowl, full of berries.
Picking currants for homemade wine is an art that blends timing and observation.
- When the berries are under-ripe, they create a sharp and acidic flavor that can overpower your wine, much like unripe grapes in a vineyard.
- On the other hand, if you leave them too long, the fruit becomes mushy, reducing the juice quality and making it harder to press.
- The right time to harvest is usually midsummer, when the clusters turn a deep, consistent shade — black, red, or white depending on your chosen variety — and detach easily with a gentle tug.
Ripe currants should offer a burst of balanced sweetness and tartness, the kind of flavor that inspires fruit recipes beyond wine — think jams, syrups, or even fresh desserts.
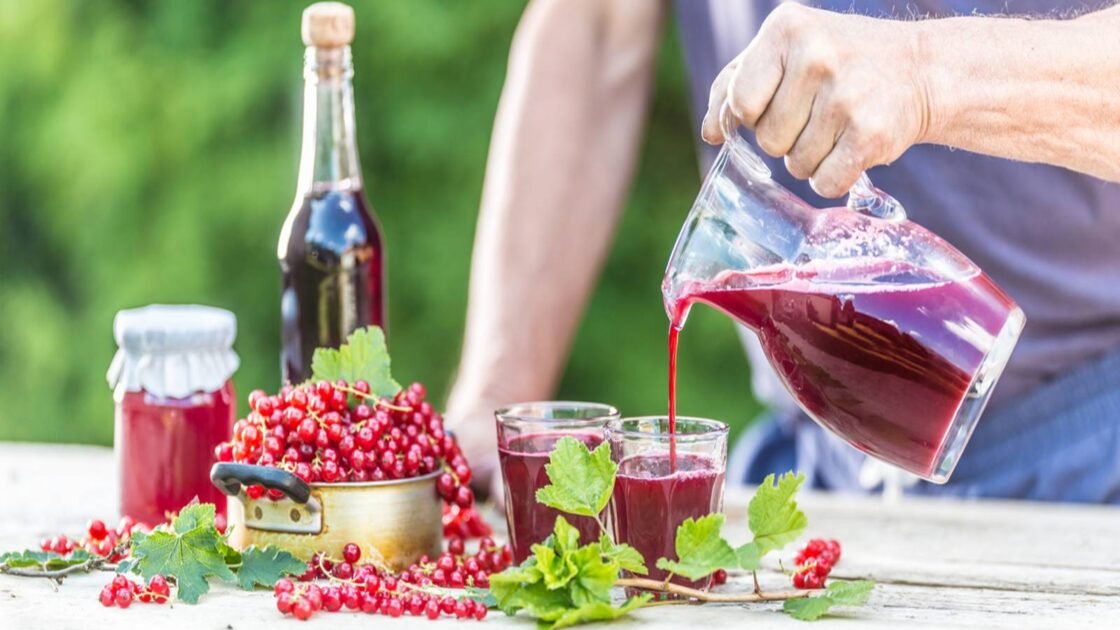
Turning Currants Into Homemade Wine
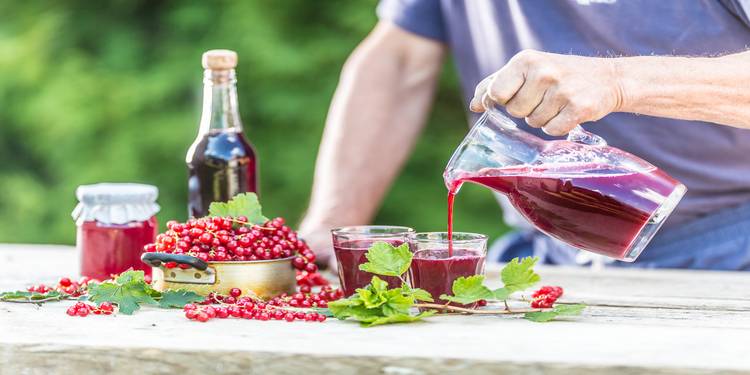
Turn your ripe currants into flavorful homemade wine with simple winemaking steps

Man farmer in garden on table pouring currant syrup or wine.
When you finally harvest your currants, you hold the first step toward creating a bottle of homemade wine that bursts with both color and taste. Unlike grapes, which are common in vineyards, currants bring a sharp, tangy sweetness that transforms beautifully during fermentation. They are small but full of juice, and their skins give the wine a deep ruby hue that looks as rich as it tastes.
Making your own wine at home takes planning but offers countless rewards.
- Pick fully ripe currants for the richest color and flavor.
- Wash and crush the berries to release their juice.
- Add sugar gradually to balance the tartness.
- Mix in wine yeast to encourage fermentation.
- Place the mixture in a sterilized glass jar or fermentation bucket.
- Cover and allow it to ferment in a dark, cool space for about a week.
- Strain the liquid, removing skins and pulp, and transfer to a clean container.
- Let it ferment again for four to six weeks, checking occasionally for clarity.
- Bottle your finished homemade wine and age it for at least three months.
- Serve chilled and enjoy the taste of your homegrown harvest.
Make Your Backyard Wine Dreams Come True
When you decide to grow currants, you’re planting more than shrubs — you’re creating memories, flavors, and experiences. Your effort results in bold, refreshing homemade wine that rivals bottles from the store. By exploring the many ways to use berries, experimenting with grapes, and finding joy in fruit recipes, you’ll discover that currants connect gardening and winemaking most satisfyingly.
From planting to pouring, the journey is worth every step, and your table will always hold the reward of your dedication to growing fruits and crafting your very own fruit wine.