


Many metal tools contain iron, making them prone to rust when exposed to water and air. Rust creates a powdery orange layer on metal tools, which makes them weaker and more difficult to use. Rust can prevent tools like garden shears from opening and closing properly. Once your tools begin to rust, more rust will form, and the issue will persist until it is removed or until your tools can no longer be used.
Instead of spending money to buy new tools, go to the kitchen! It's where you will find a common ingredient that is used to perform all sorts of gardening tasks: baking soda.
Baking soda, sodium bicarbonate, has many uses in the garden, such as deterring rodents, killing weeds, and controlling odor. It can even remove rust from tools when used properly. It is a natural, non-toxic, and gentle alternative to other rust removers, which often have mild abrasive qualities that remove rust, dirt, and other stains from the surface of the metal.
Use baking soda to remove rust from tools, make them look new, last longer, work properly, and get some key tips for preventing rust in the future.
What You'll Need to Remove Rust From Tools
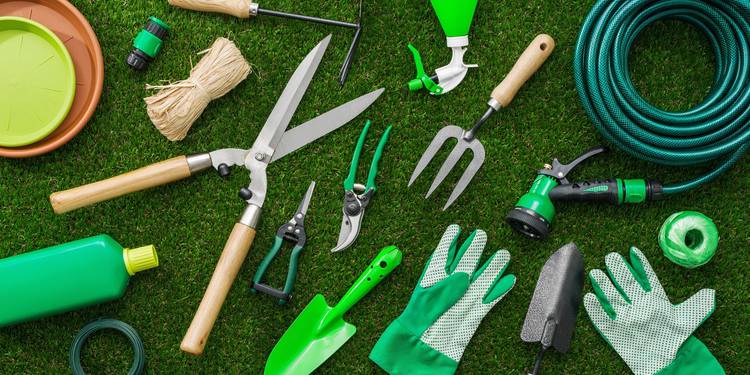
Gather up all your materials for this simple DIY
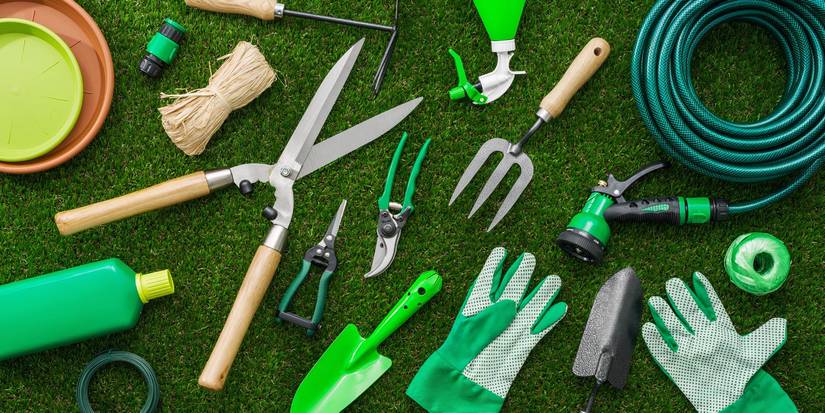
Gardening tools laying on the lawn
To remove rust from gardening tools using baking soda, you will need a few tools. Get everything together before you begin, so you can complete the project without stopping and get all your tools nice and clean again.
- Rusty gardening tools
- Baking soda
- Water
- Large mixing bowl
- Toothbrush or scrub brush
- Clean, dry cleaning cloths
- Large bucket
- White vinegar or apple cider vinegar
- Vegetable oil
- Bleach
- Spray bottle
Also, make sure you've got a pair of gloves. You will be working with vinegar, which is naturally acidic and can irritate skin if you have any small cuts or abrasions. You should also wear eye protection while around vinegar. You will be using large amounts of it if you plan to clean several tools, and the fumes can create a stinging sensation in eyes.
How to Remove Rust From Garden Tools
Keep your tools clean and ready to work
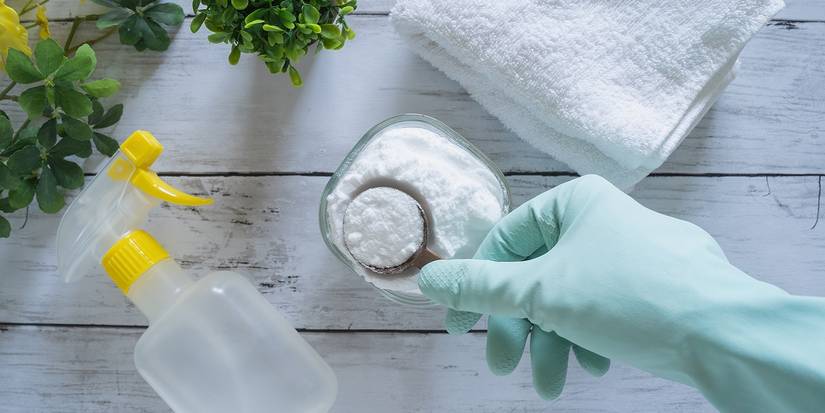
Baking soda with spray bottle and plant on a table
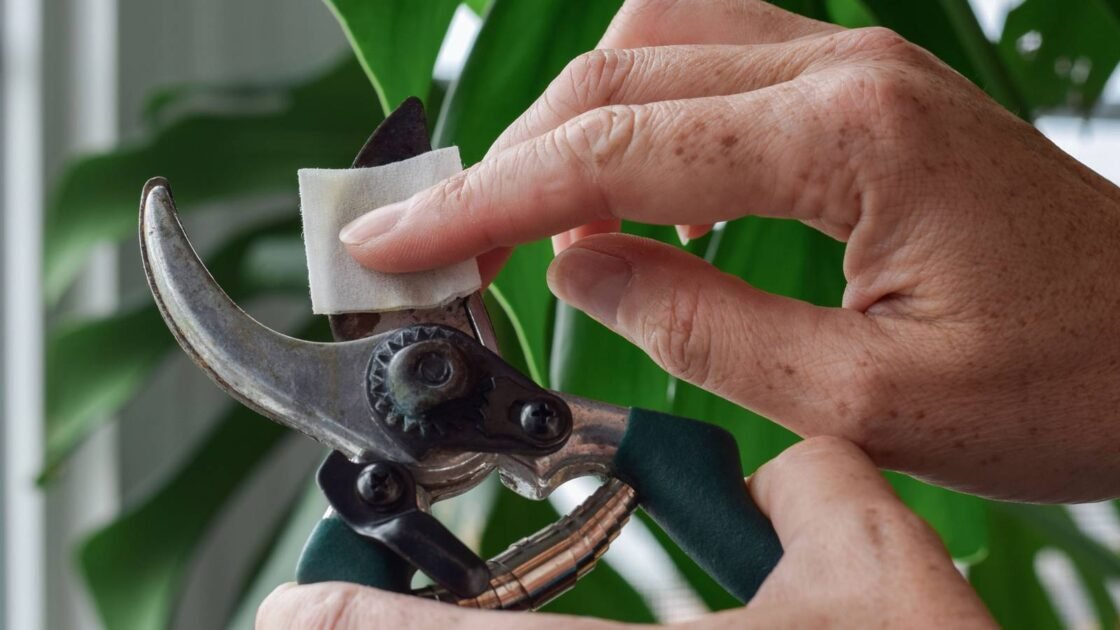
Though it is not necessary for all tools, disassembly is the first step in cleaning rust from garden tools. Items such as pruning shears (and certain saws and knives) require you to disassemble them before cleaning to ensure you are able to remove rust from every crevice and prevent it from returning.
- Shears are typically put together with screws or bolts that can be removed, so they can be cleaned more thoroughly.
- Most garden tools will have fairly simple construction so they can be taken apart for cleaning.
- Check your owner's manual for individual tools or tool sets to find detailed instructions for disassembling tools.
Maintaining clean tools keeps them working well for longer, so you won't have to spend as much time or money on shopping for new tools.
Once the tools are disassembled, use a stiff brush, such as a toothbrush, to remove any caked-on dirt or gunk.
- With the tools disassembled and any easy-to-remove dirt scrubbed away, it is time to soak your tools in either white vinegar or apple cider vinegar, which helps loosen up any caked-on dirt and rust.
- Either soak a couple of rags in vinegar and wrap them around your tools, or fill a bucket with vinegar and submerge the tools anywhere from two hours to overnight.
- After soaking, remove the rags or the tools from the bucket and gently wipe away loosened rust using the brush.
After soaking in vinegar, an application of baking soda neutralizes the acidity and helps to gently remove any leftover rust or dirt.
- Mix baking soda and water in a small bowl in equal parts.
- Create enough paste for the number of tools you need to clean.
- Amounts will vary depending on the size of your tools and how much rust you are dealing with.
- Apply the paste to the tools one at a time, leaving it on for about 10 minutes.
- Gently buff tools with a stiff brush, scrub brush, or cleaning cloth, and the rust should begin to wipe away.
- Repeat if necessary.
After applying the baking soda paste and scrubbing away as much rust as possible, rinse the tools thoroughly with clean water, and ensure they are completely dry.
- Once your tools are clean and dry, reassemble them.
- Ensure all the bolts and screws are tight, and your tools are still working as normal.
- Apply a light layer of vegetable oil to the metal to protect it and prevent it from rusting again.
Prevent Rust From Forming
Keep rust from forming to do less cleaning
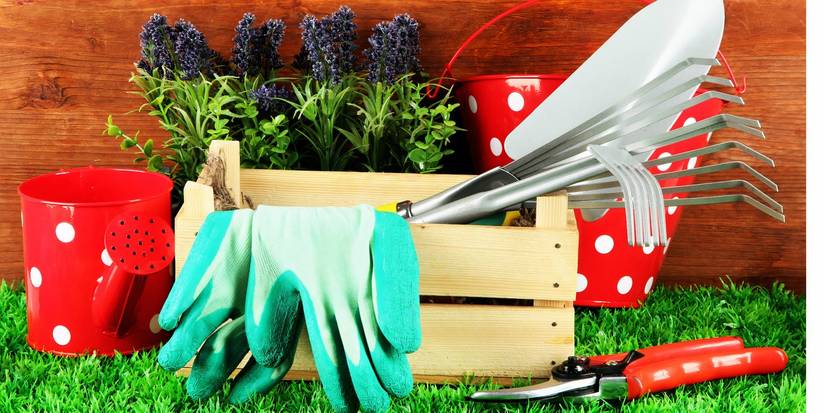
Garden tools on grass
Preventing rust build-up on your tools is key to extending their lifespan and limiting your time spent removing rust.
- Always ensure garden tools are dry before storing them.
- If your tools are still wet, the metal will rust again.
- Always wipe them down with a soft cloth and store them in a dry area with low humidity.
- Hanging them also helps to ensure any moisture drips off and away from the tools.
For regular maintenance and sanitization, spray a diluted bleach solution on the tools and allow them to air dry. You want to mix about nine parts water to one part bleach, so 9 cups of water to 1 cup of bleach, for example.
|
Before Use |
|
|
During Use |
Wipe mud and debris off tools as you work to avoid lots of heavy buildup. |
|
After Use |
Make sure tools are clean and dry before storing them. |
Say Good-Bye to Rust Once and For All
Garden tools are an essential part of gardening, but they are also valuable, so providing them with the proper care means you won't need to repair or replace them as often. Removing rust is only one aspect of garden tool maintenance, along with wiping them down after every use, regular sanitization, and proper storage!
With a little baking soda and some elbow grease, you get your garden tools working and looking like new in no time.
The process is straightforward and affordable, not to mention effective. Once you have saved your garden tools from corrosion, remember to keep them hanging in a dry location to prevent the issue from returning. But if it does, baking soda is always a great solution!