
The Grocery Store Sticker Shock That Changed Everything
We have all been there: standing in the baking aisle, staring at a bag of chocolate chips, and wondering when they started costing as much as a fancy lunch. In my house, chocolate chips disappear faster than I can track. Whether they are destined for a batch of chewy cookies or just “sampled” by the handful as a midnight snack, the chip bill adds up fast.
When I saw a bag of standard semi-sweet chips priced at nearly $ at my local market, I knew there had to be a better way. I turned to a simple DIY method circulating on social media, and what started as a budget experiment turned into a total culinary revelation. Not only did I save a significant amount of money, but the flavor was miles ahead of the waxy, over-sweetened versions I was used to buying.
Why You Should Ditch the Bag
The beauty of making your own chocolate chips lies in the ingredient list. Most store-bought brands are loaded with stabilizers, soy lecithin, and mystery fillers to keep them shelf-stable for years. This homemade version relies on five clean ingredients you likely already have in your pantry.
The result is a chip that tastes “purer” than the commercial stuff. It is chocolate-forward, perfectly balanced with a touch of sea salt, and lacks that strange, plastic-like finish. Plus, at a total cost of around $. for a full -ounce batch, you are keeping over $ in your pocket every time you bake.
Ingredients
/ cup coconut oil
/ cup coconut oil
/ cup honey or maple syrup
/ cup honey or maple syrup
cup cocoa powder (sifted)
cup cocoa powder (sifted)
/ teaspoon vanilla extract
/ teaspoon vanilla extract
A generous pinch of salt
A generous pinch of salt
Instructions
. Melt the Base
In a medium saucepan over medium-low heat, combine the coconut oil and your liquid sweetener of choice. Stir gently until the oil is completely melted and the mixture just barely begins to simmer.
. Add the Aromatics
Remove the pan from the heat and stir in the vanilla extract and salt. This is where the magic happens—the salt cuts through the richness of the cocoa to make the flavor pop.
. Incorporate the Cocoa
Slowly sift in the cocoa powder. Whisk or stir until the mixture is glossy and smooth. It should be thick enough to hold its shape but fluid enough to pipe. If it feels too grainy, a tiny splash more of coconut oil will smooth it right out.
. The Piping Process
Transfer your chocolate to a piping bag or a simple resealable plastic bag with a tiny corner snipped off. On a sheet pan lined with parchment paper, pipe small dots. Yes, this takes a little patience, but there is something incredibly meditative about it.
. Chill and Set
Pop your trays into the refrigerator. Because these are small, they set remarkably fast. Mine were firm and ready to handle in just minutes.
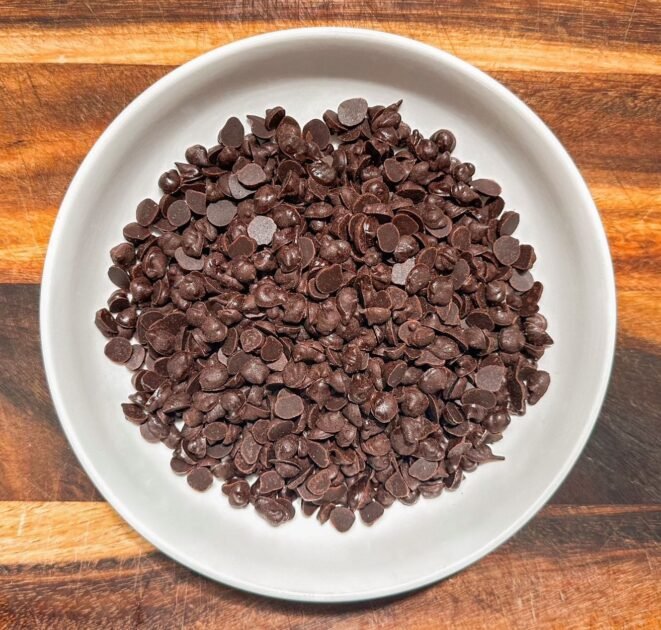
. Harvest and Store
Once set, use a bench scraper or a flat spatula to lift the chips off the paper. This is the most satisfying part of the process! Since these are made with coconut oil, they have a lower melting point than commercial chips, so store them in a container in the freezer or fridge.
Expert Tips for Success
If the idea of piping hundreds of tiny dots sounds like a chore, you can actually buy inexpensive silicone chocolate chip molds online to speed up the process. However, a good podcast and a quiet afternoon make the manual piping feel like a fun kitchen project rather than work.
These chips are perfect for folding into cold preparations like cookie dough, sprinkling over pancakes, or stirring into a homemade bowl of ice cream. While they do soften faster than store-bought chips in a hot oven, they provide a rich, molten chocolate experience that is hard to beat.
Give this DIY version a try next time you reach for that pricey bag at the store. Your wallet—and your taste buds—will thank you.